Calligraphy Basics - A Mini Tutorial for Getting Started with Modern Pointed Pen Calligraphy
Pointed pen – well that sounds scary and technical, and it can be, but it’s also something anyone can learn to use, and calligraphy is a timeless art that’s has a ton of room for personality and play in the modern world! A huge part of my job is teaching people how to get comfy with pointed pen calligraphy, so I’m here to show you how to get started. Once you understand the basics, the sky's the limit!
There are plenty of fancy tools out there, but if you’re just starting out – start with these (or, to keep it simple, you my Calligraphy Starter Kit has everything you need here):
Pen Staff: oblique if you’re right handed, straight if you’re a lefty
Nib: Nikko G
Ink: sumi ink
Inkwell: or dipping jar
Paper: smooth laser jet paper or calligraphy practice paper HP premium choice laser jet paper
Cup of water
Napkin or paper towel
Rubbing alcohol, windex, or a lighter
Optional: free printable guidelines
Optional: traceable calligraphy practice alphabets
Step one: prep and assemble
First, you gotta prep and assemble your pen.
Prep: brand new nibs have a waxy coating on them to keep from rusting, so you gotta clean it off before use (or it’ll be really frustrating, trust me). There are a few ways to do it, my faves are: Soak it in rubbing alcohol or Windex for a minute and wipe clean, or burn the tip just for 1-2 seconds and dip in water. If you don’t have either of those – you can use toothpaste or even your own spit!
Assembly:
If you’re a lefty and using a straight pen, you’ve got it easy, just insert the base of the nib into the holder about halfway.
If you’re right handed, I always recommend an oblique holder (more on that later) – set the pen holder with the flange on the left, insert the nib into the flange so that when the pen is laying flat, you can see the reservoir hole and it’s laying flat over the table.

Assemble the pen by inserting the nib into the holder
Next: Fill your inkwell or dipping jar will ink.
Step two: get cozy with the paper and angles
Angles are the key with pointed pen! Hold your pen so it sits at about a 45 degree angle (i.e. the tip shouldn’t be stabbing the paper, but resting on it so you can open and close the tines when a little pressure is applied).
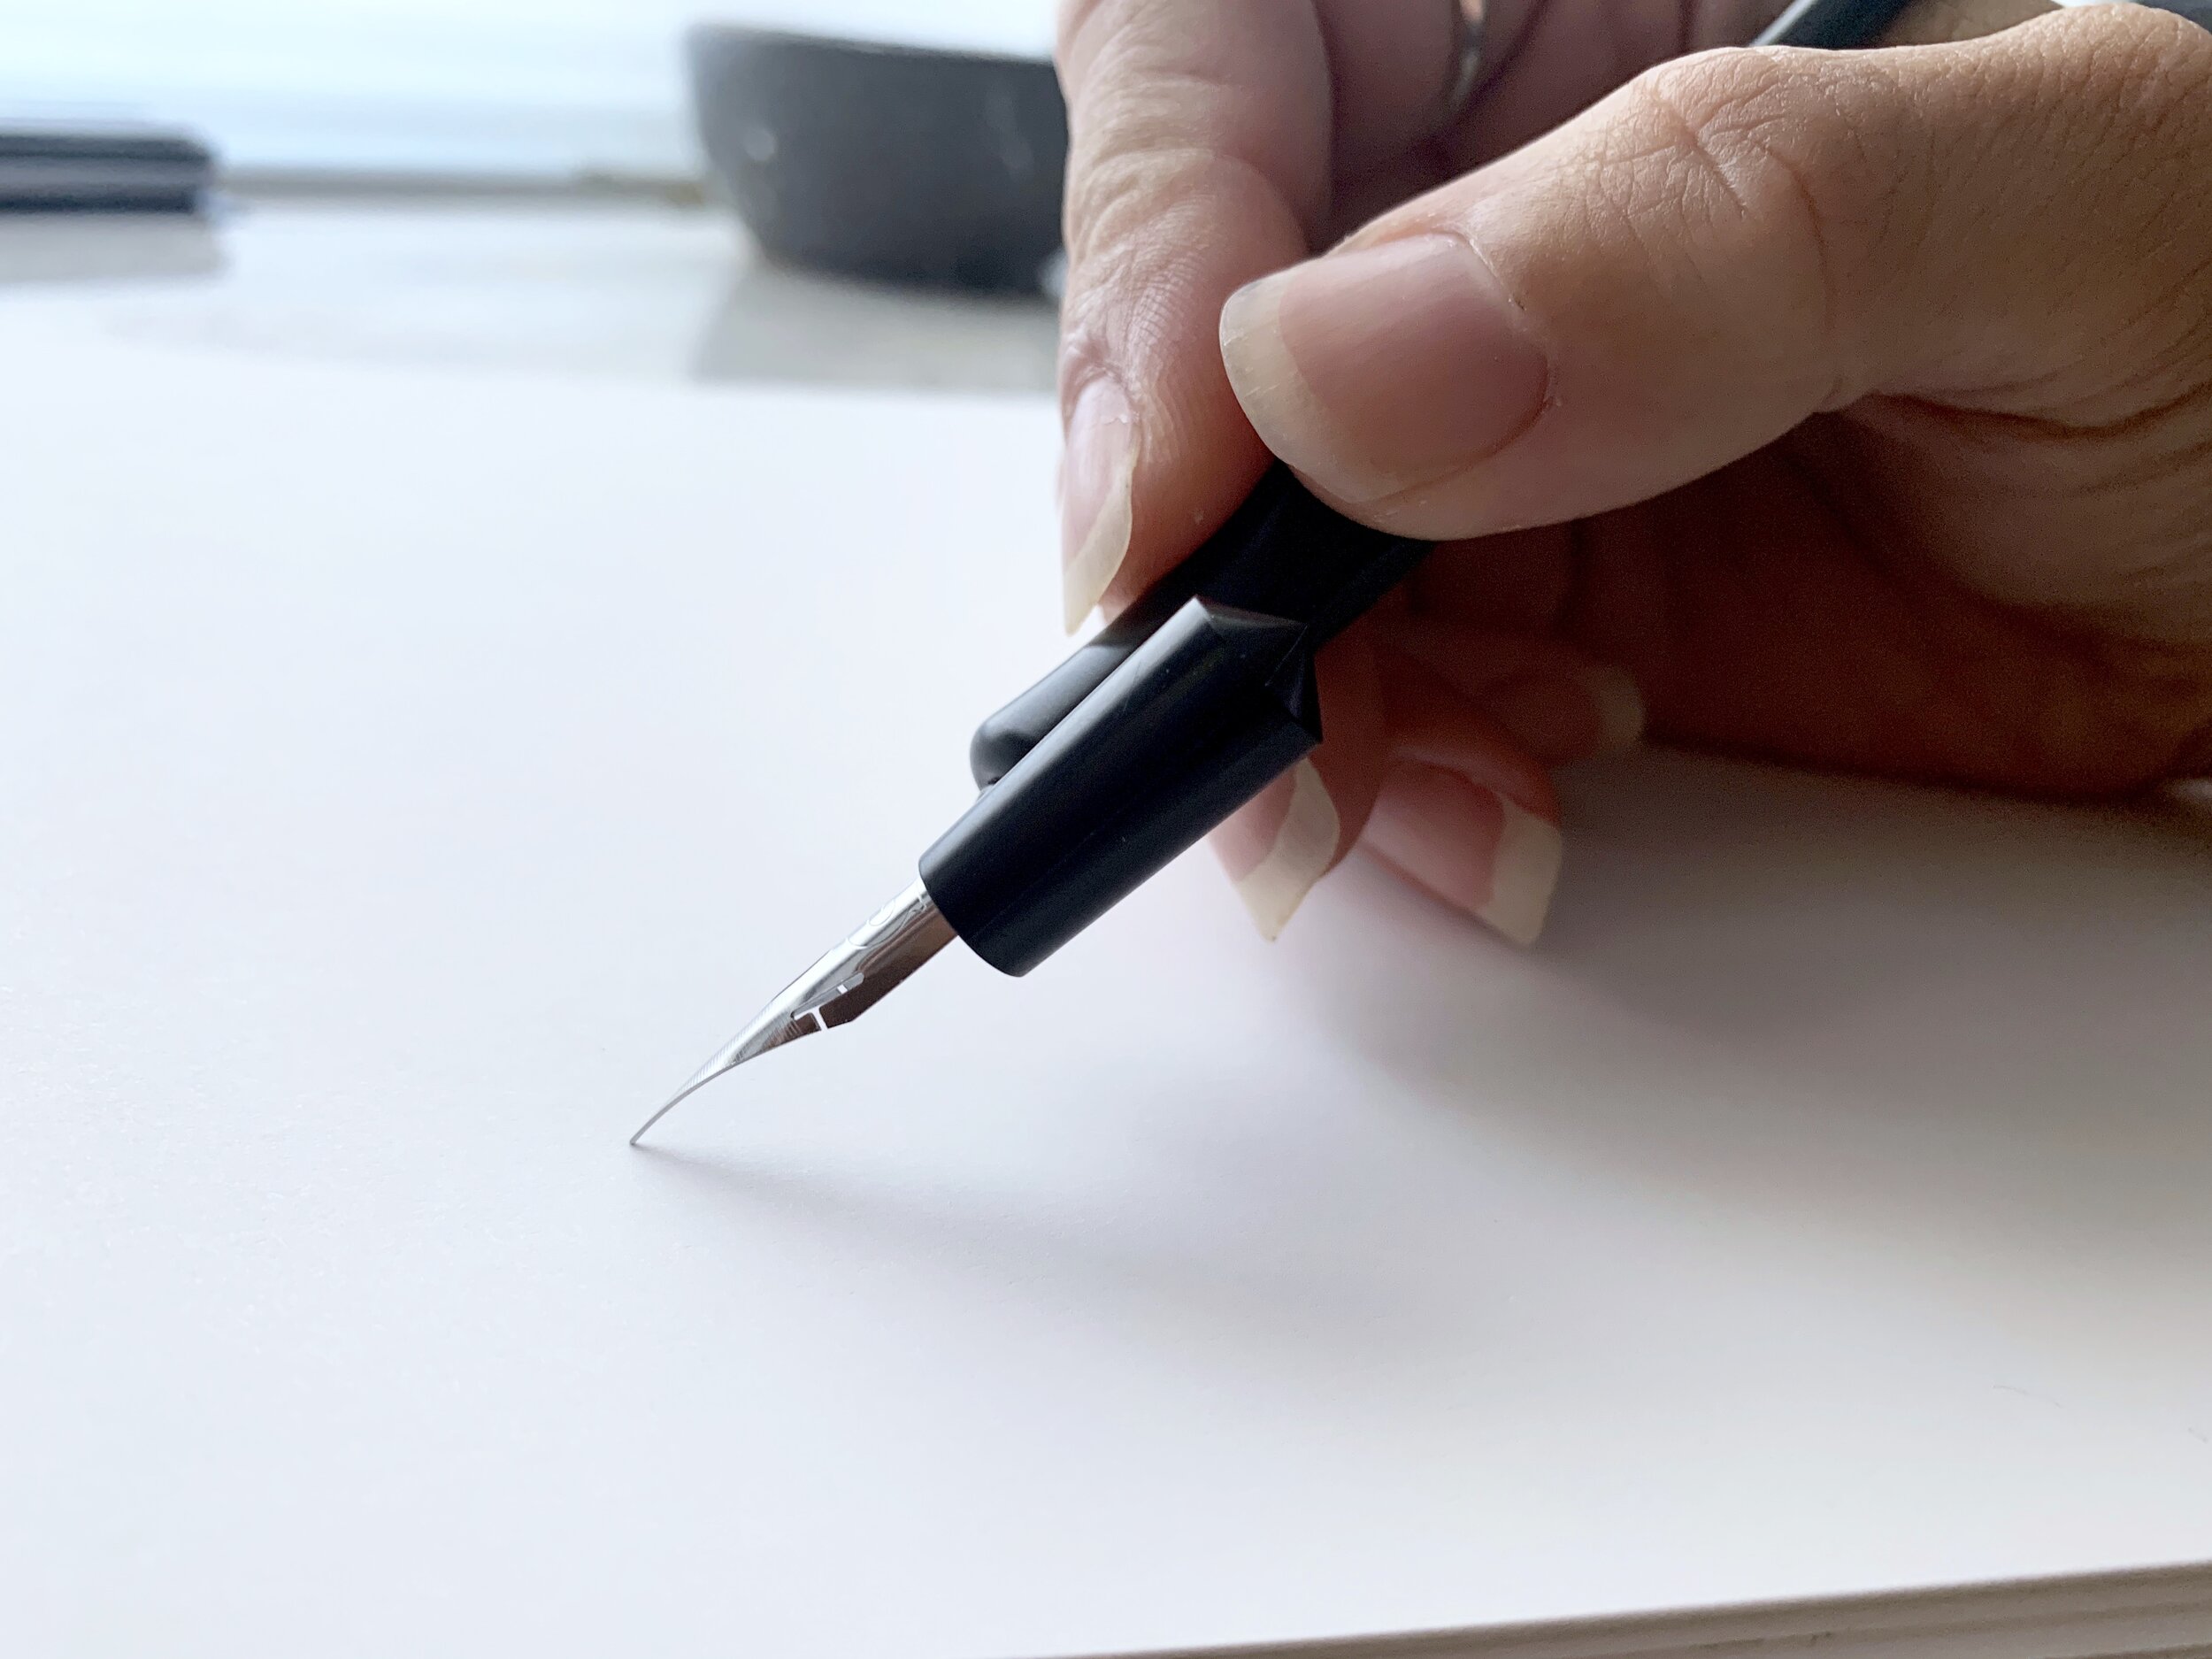
Make sure your pen sits at around a 45 degree slant (it shouldn’t be stabbing the paper)!
You always want the nib to line up parallel with your letters or guidelines (if using). Turn your paper to a comfortable position (to the left if you’re right handed, and to the right if you’re left-handed). Right-handers: the oblique flange is there to help with a more natural hold – notice how you don’t have to hold your hand awkwardly so far to the left underneath to line things up!

Hold the pen so that the nib is parallel with the letter you’re writing
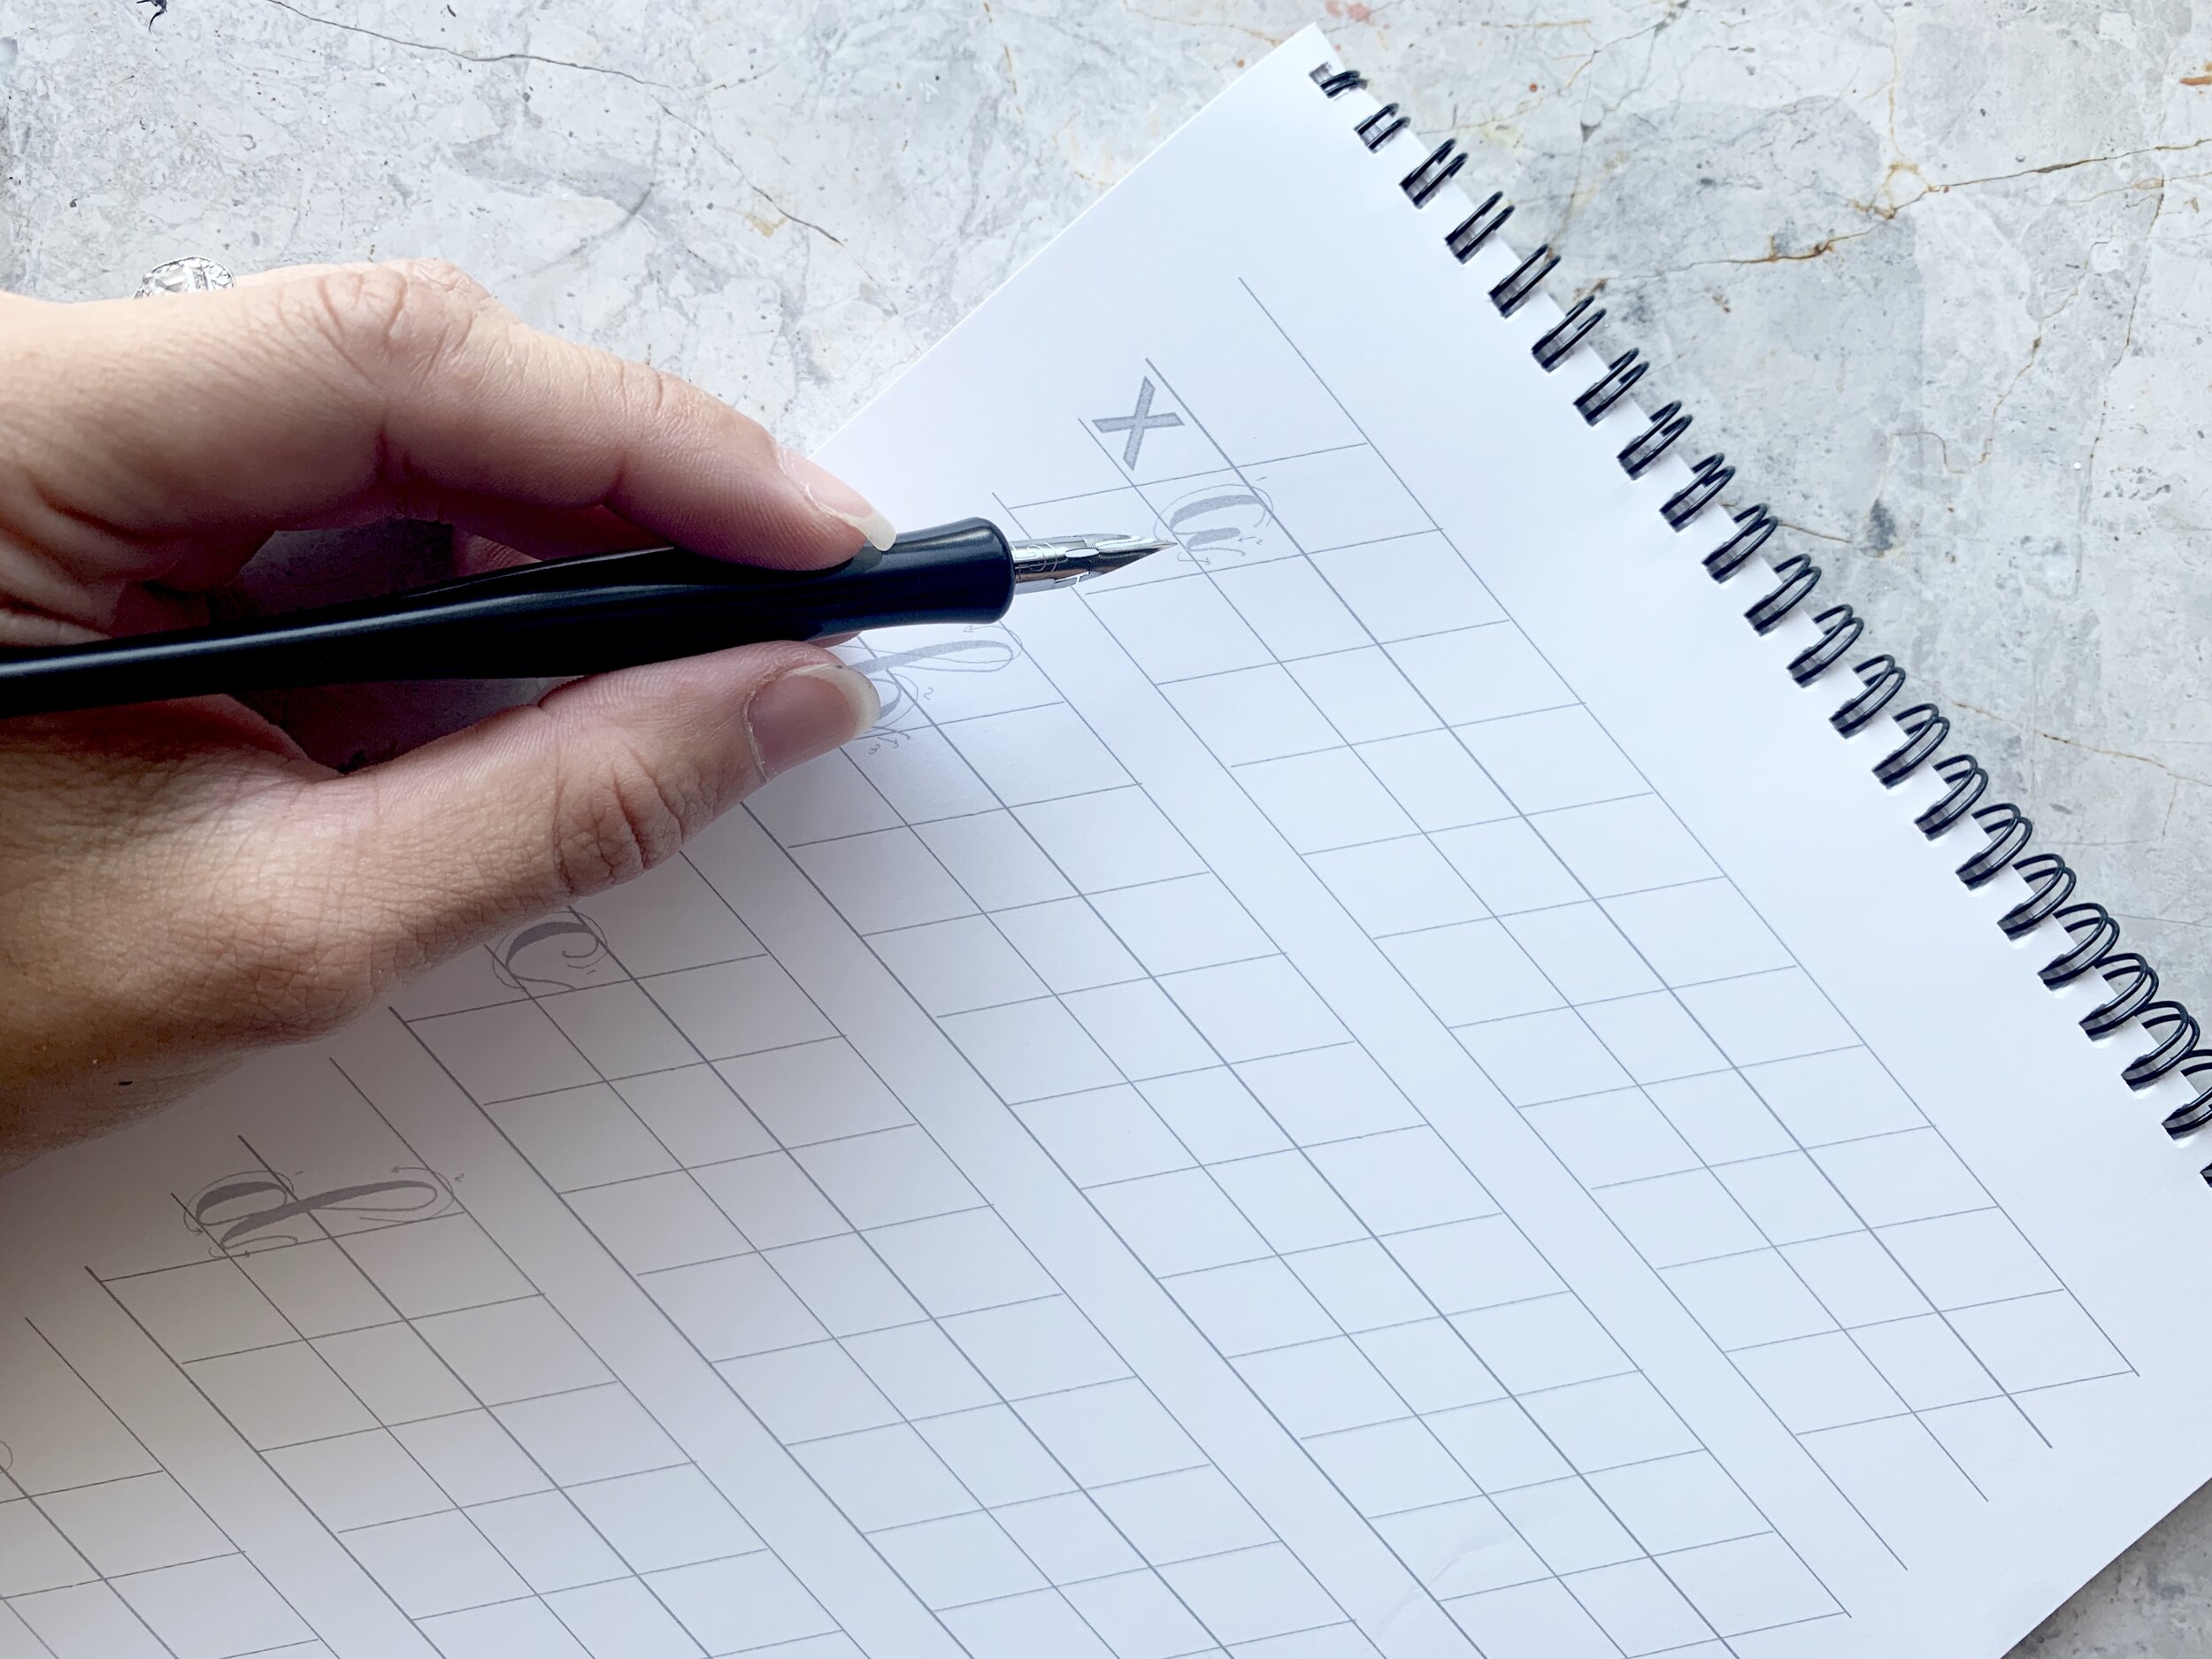
Same goes for left-handed!
Step three: pressure and release
Dip your pen in ink, covering the reservoir hole so it fills up, and put some lines on the paper (remember to keep the angles the same the whole time). Notice that if you apply a bit of pressure to the tip while pulling downward, the tines open and you’ll get thicker lines. Releasing the pressure closes the tines, so you can get those fine hairlines, keeping it really light, and voila, you’ve got contrasting lines!

Use a soft touch to keep the tines closed for hairline strokes

Use a bit of pressure to open the tines to make a thicker stroke
Step four: shapes into letters
If you’re tracing a practice alphabet or using guidelines, remember to line up the nib so it’s parallel with the letters or slant lines. Rather than writing in your regular handwriting, focus on the shapes that each letter is made of, and use a little pressure on the downstrokes for the thicker lines, and release pressure for the thin lines, to slowly form the shapes, and put them together to make the letters. And there you go – calligraphy at your fingertips!

Once you have a hang of the pen mechanics and forming letters, you can play around a little with stylistic choices and have some fun with it!

Feel free to tag me on Instagram (@angeliqueink) and share your practice! I’d love to see your work!
xx
-angi